

As part of our ongoing LookDev Insights series, BZ Mid Look Development Artist, Lisa-Mae Evans, explains how the team achieved the look for the fluffy clouds in The Adventures of Paddington episode, 'Balloons'!
Where the process begins
Before we begin any R&D in 3D, we need to understand the brief and the context in which this setup will be used. Within animation, we have an endless amount of possibilities for ‘looks’ we could achieve, especially within the world of Paddington where we are able to make use of real world materials and play with scale! For this reason, it’s really important to establish the direction we are thinking of taking the look, by searching for references.
For this scene in the episode ‘Balloons’, Production Designers wanted the cloudscape to have a hand-made, cotton wool surface. This works particularly well within the design of the show, as Paddington and his friends are all built to match a miniature scale (meaning, if they were to exist in the real world, Paddington would be about 30cm tall).
With this in mind, we can look up references which might help narrow down this idea and inform how we approach the look development within 3D. A reference like the one below helps give us an idea of smaller surface details (like how the edge of the clouds might be broken up by a fuzzy look). It also works well because the lighting is quite soft, similar to how they would be lit for production.

I liked the reference below to get a sense of how a model like this might be built if it was made for a stop motion animation set. Interestingly you can see a fleece-type roll of fabric (called Polyester Batting) which forms the base, with cotton wool/padding plumes built on top of it. Although I initially started with tests on just one cloud, eventually the references below were very helpful to get an idea of how to approach the wider cloudscape.


Starting Development in 3D
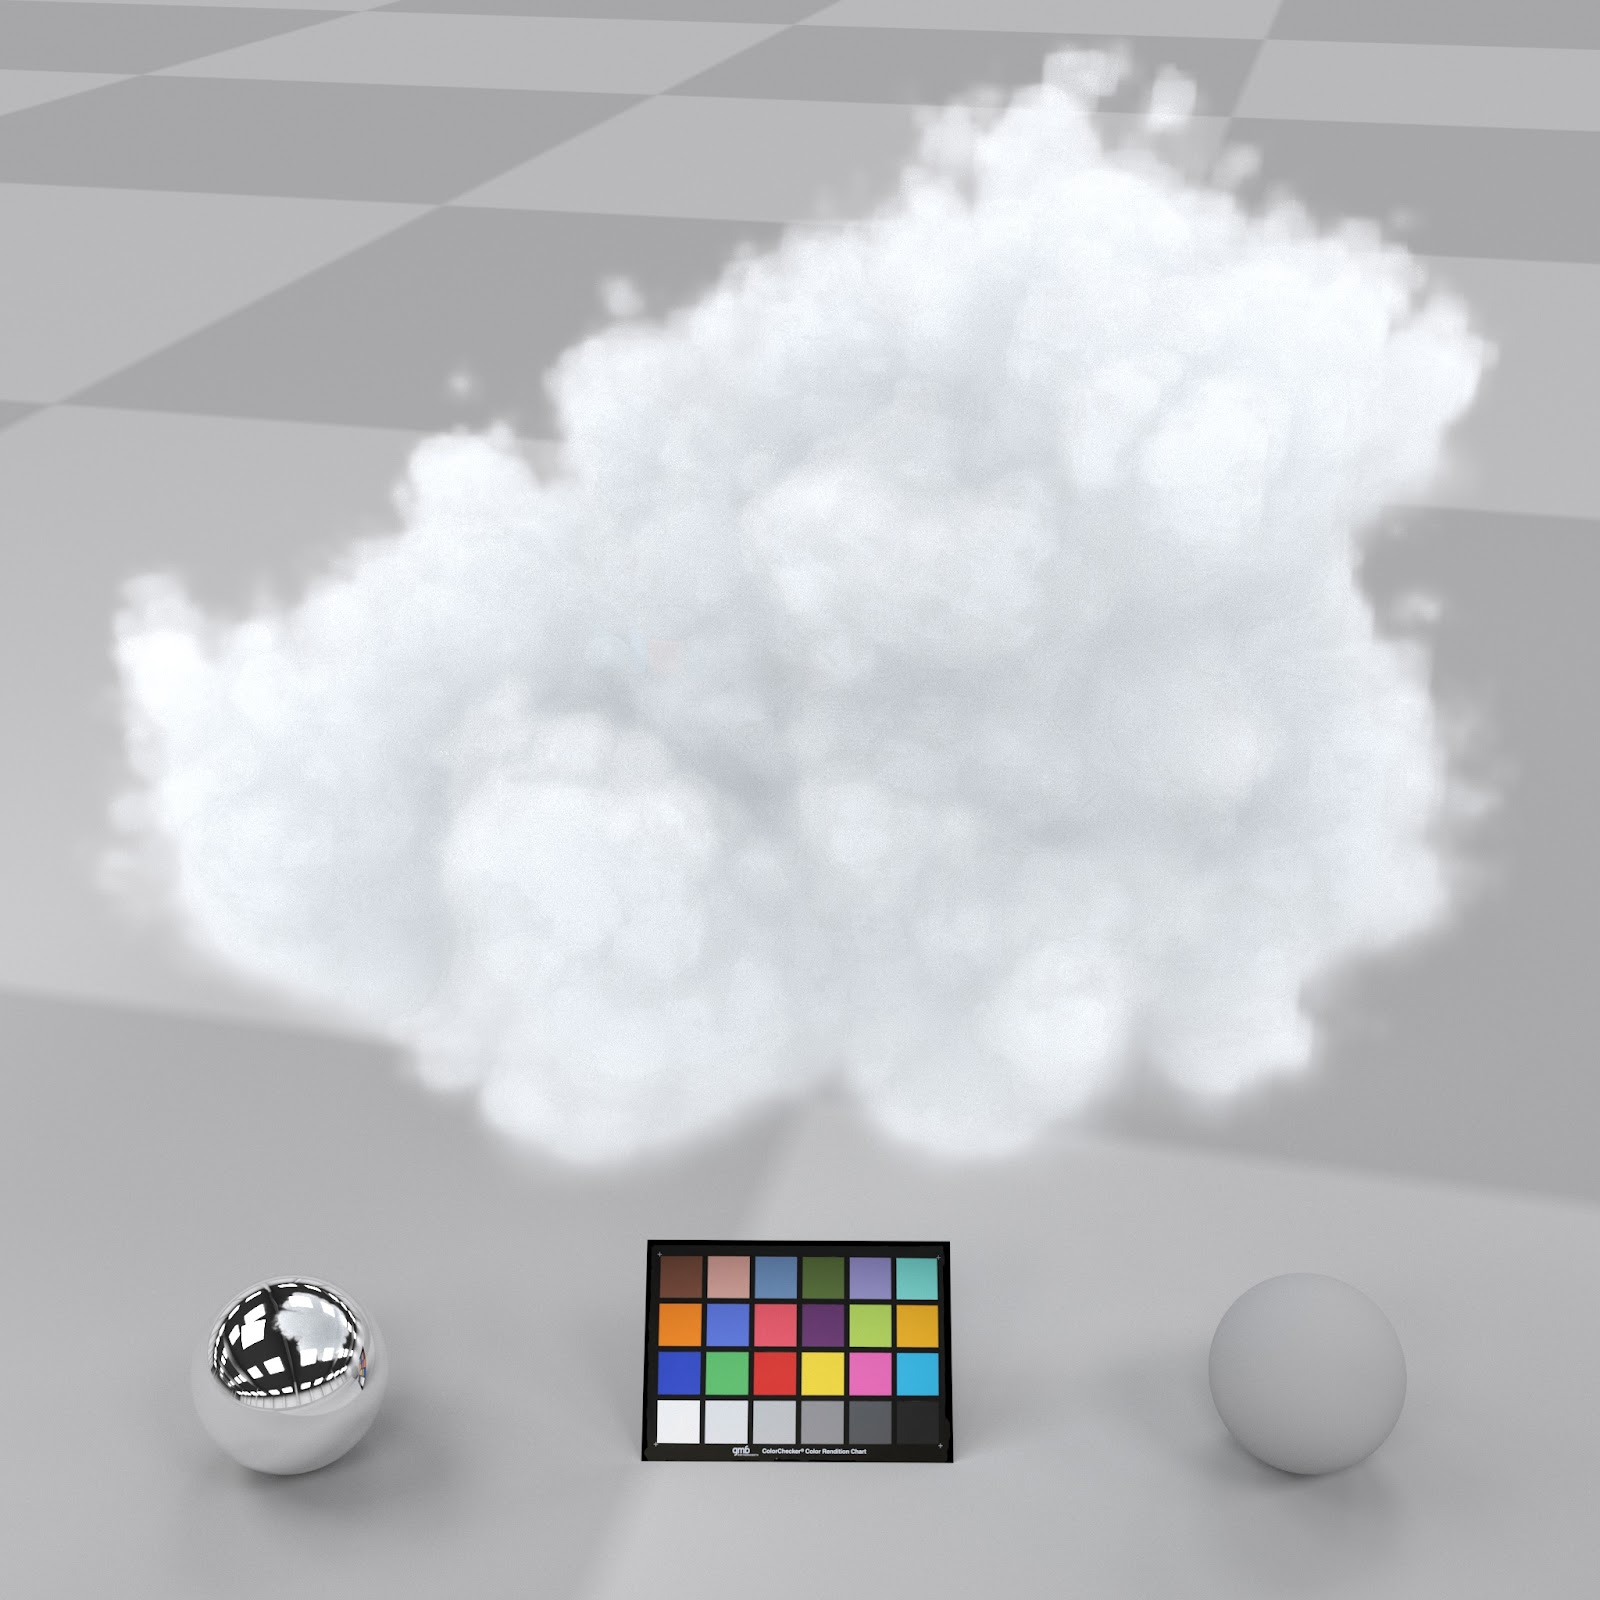
Initially I tried an approach of assigning an existing felt shader (using double mesh with a mixture of displacement and opacity maps) to a generic cloud shape. Immediately we realised this approach didn’t feel right at all- we were entirely missing a feeling of softness which you would get with cotton wool. We needed to go for a different approach.

Learning from the test above, I decided to see if we could get a better feeling of softness by using a cloud volume that was generated by the FX team in Houdini. This seemed to capture the softness of cotton wool far better than the previous approach. However, it still lacks a tactile appearance (something the Look Development Team is very familiar with)! We need to find a way to create a balance between softness and rich detail- in order to do this, we need to add an additional layer on top of the volume.
In order to add more surface detail and ‘break up’ (similar to how the fibres of cotton wool break up the silhouette of the references), we tried approaching this by duplicating the mesh and adding an opacity mask on more of a flat shader. This gave us a more graphic look, which could have been an interesting approach, but didn’t quite fit the requirements of design- back to the drawing board! Within our team, it normally feels like ‘Goldilocks and the Three Bears’ where it takes a few attempts until something is just right.

Refining the Look
It was at this point that we decided to try adding a groom layer on top of the volume. In order to do this we needed to sculpt a cloudscape mesh in ZBrush which would then be used to generate a groom using XGen, and also would be used to generate a dense volume in Houdini.


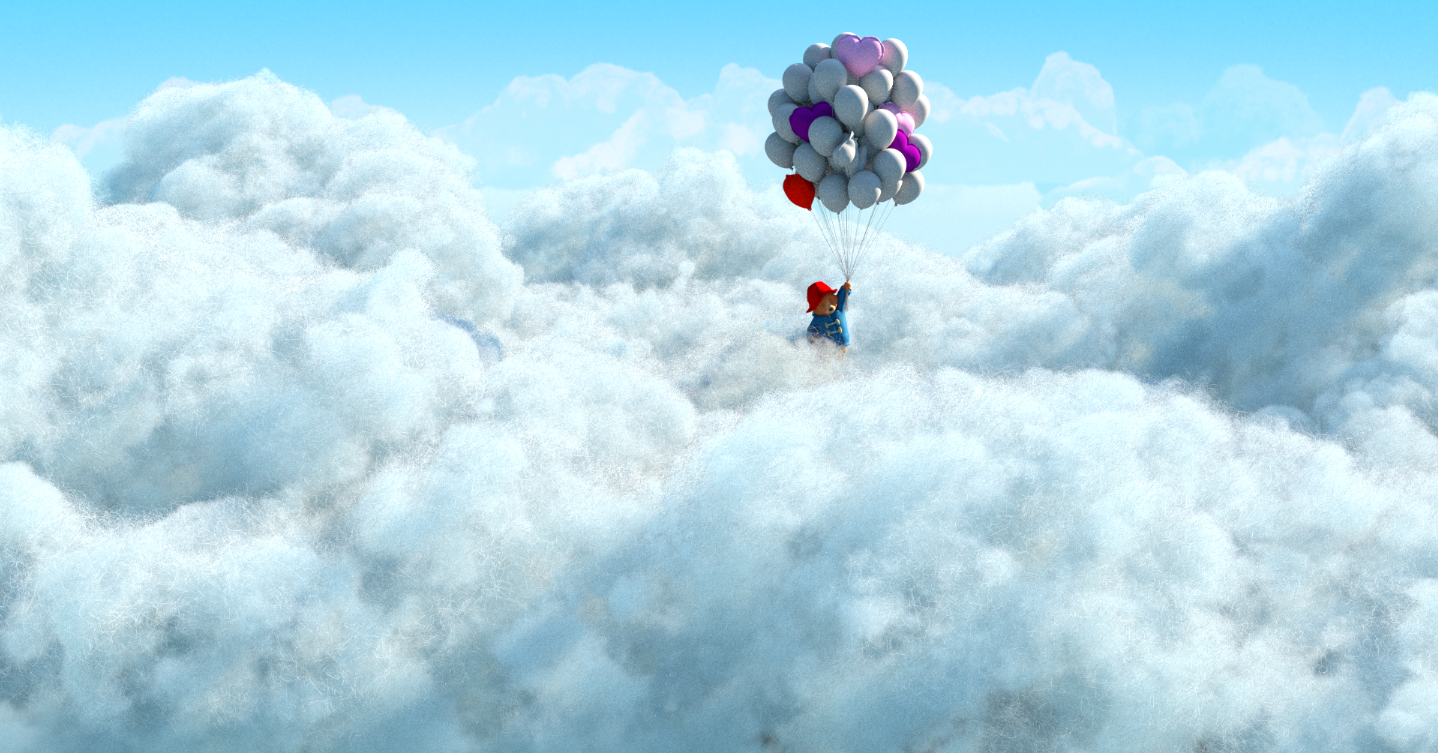
Once we had the exported mesh, which included a nice variety of larger and medium clouds, we could then begin lighting and surfacing tests. Below you can see a comparison between the cloudscape with and without groom.


The groom not only softens the shadows slightly, it also adds the all important fuzz layer that is noticeable in our references. At this point it is important to get Paddington in the scene to check that the general scale of these hair fibers are working correctly (even if Paddington’s textures aren't’)!
Once we’re happy with the look of everything, we can then hand-over to our lovely Lighting & Compositing team who will take the set up into production and give it the wonderful finishing touches!

